iPhone 14 Camera Keeps Refocusing – How to Fix It

When you purchase through links on my site, I may earn an affiliate commission. Here’s how it works.
Table of Contents Show
So, you've finally got your hands on the iPhone 14. You can't wait to start snapping away, capturing memories and Instagram-worthy shots.
But hold on a second – why does the camera keep refocusing?
Just when you think you've got the perfect frame, the focus shifts, leaving you with a blurry mess.
If this sounds like your experience, take comfort in knowing you're not alone.
This refocusing issue has been a thorn in the side for many iPhone 14 users, disrupting everything from casual selfies to important video calls.
In this comprehensive guide, I'll walk you through a series of troubleshooting steps to get your iPhone 14 camera back to its picture-perfect self.
Let's dive in and get that camera back in focus!
1. The Good Old Restart
Sometimes, the oldest tricks in the book are the most effective.
A simple restart can clear out minor bugs and could be the quick fix you need.
Here’s how you do it:
Hold That Side Button
Press and hold the side button along with one of the volume buttons until you see the "slide to power off" slider pop up on your screen.
Slide to Turn Off
Go ahead and slide it. Your iPhone 14 will power down.
Bring It Back to Life
Once it's off, press and hold the side button again until the Apple logo graces your screen. Voila! You've restarted your iPhone.
2. Update Your Software
Let's make sure your iPhone is running on the latest software.
Apple frequently releases updates that fix bugs and improve performance, so this could be a quick and easy fix for your camera woes.
Head to Settings
Open up the Settings app on your iPhone. It's the one with the gear icon.
Find 'General'
Scroll down a bit and tap on "General." It's usually located near the top.
Look for 'Software Update'
Tap on it to see if you're missing out on any new updates.
Get Updated
If there's an update available, go ahead and tap "Download and Install." Your phone will take care of the rest.
3. Clean the Camera Lens
Even the most advanced camera can fall prey to an all-too-common adversary – dirt and smudges on the lens.
If you've noticed your iPhone 14 camera keeps refocusing, it might just be a sign that your lens needs some love and attention.
But before you grab just any cloth and start scrubbing away, it's crucial to approach this task with the care it deserves.
Keep in mind that the glass on your iPhone’s camera is delicate, and improper cleaning can lead to scratches, which are far worse than any smudge.
Here's how to safely clean your iPhone 14's camera lens:
Start with a Blower
The first step is to remove any dust or debris that could potentially scratch the lens during the cleaning process.
A hand blower is perfect for this, as it allows you to dislodge particles without direct contact.
Avoid using compressed air, as the intense pressure can damage the lens coating!
Soft Brush for Stubborn Particles
If there are particles that the blower couldn’t take care of, gently brush them away with a soft, fine-bristled brush.
Brushes specifically designed for camera lenses are your best bet, as they are soft enough not to cause any damage.
Lens Cleaning Solution & Microfiber Cloth
For fingerprints, smudges, or anything sticking to the lens, you’ll need to up your game.
Apply a small amount of lens cleaning solution – like ZEISS lens cleaner – onto a high-quality microfiber cloth, and gently wipe the lens in a circular motion.
The key here is to apply minimal pressure to avoid damaging the lens.
The Final Touch
After cleaning, give the lens one last gentle wipe with a dry part of the microfiber cloth to ensure no streaks are left behind.
4. Turn Auto-Focus Off
Now, before you raise an eyebrow at the thought of ditching one of the most convenient features in smartphone photography, hear me out.
It's not about abandoning auto-focus for good – it's more about knowing when to take control for the perfect shot.
Auto-focus, while generally reliable, can sometimes get caught in a loop of refocusing, especially in scenes with moving subjects or varying levels of contrast.
Here’s how to temporarily turn off auto-focus:
Open Your Camera App
Start by launching the camera app on your iPhone 14.
Choose Your Focus Point
Look at the scene you're about to capture and decide where you want the camera to focus.
This could be a person's face, a specific object, or any part of the scene you want to highlight.
Tap and Hold on the Screen
Once you've determined your focus point, tap on that area of your screen and hold.
You don't need to press hard; a gentle, prolonged touch will do.
Wait for the "AE/AF Lock" Indicator
Keep holding until you see the "AE/AF Lock" badge appear at the top of the screen.
This confirms that both the auto-exposure and auto-focus have been locked onto your chosen spot.
Compose Your Shot
With the focus locked, you can now recompose your shot if needed.
The focus will remain fixed on the spot you selected, even if you move your phone slightly or if the subject moves.
Take Your Photo or Video
Once you're satisfied with the composition, go ahead and take your photo or video.
The focus will stay locked as long as you don’t tap the screen again.
Unlock the Focus
To unlock the focus and return to auto-focus, simply tap anywhere on the screen again.
When to Use Manual Focus
Knowing when to flip the switch from auto to manual focus is pretty crucial. Scenarios with low light, close-up shots, or scenes where the subject isn't easily distinguishable from the background are prime candidates.
In these moments, taking control can prevent the camera from making incorrect assumptions about where the focus should be, giving you crisp, detailed shots exactly how you envision them.
5. Why Switching Cameras Can Help
The concept here is straightforward yet ingenious. When you toggle between the selfie and rear cameras, it prompts the system to reset the focus parameters for each camera.
This can sometimes clear up any glitches or hang-ups in the auto-focus system that were causing it to behave erratically.
Think of it as a soft reset for your camera's focus abilities – a way to give it a gentle nudge back on track.
Here’s how you can execute the camera switch:
Open the Camera App
Initiate this process by opening the camera app as you normally would when taking a photo.
Switch to the Selfie Camera
Tap on the camera flip icon (usually represented by two circular arrows) to switch to the front-facing, or selfie, camera.
Pause for a Moment
Allow the selfie camera to activate fully. You don't need to take a selfie unless you want to.
The goal here is merely to engage the different focusing system of the front-facing camera.
Switch Back to the Rear Camera
Tap the camera flip icon again to return to the main camera on the back of your iPhone 14.
Try Taking a Picture Again
With the focus now hopefully recalibrated, proceed to take a picture with the rear camera as intended.
6. Remove the Case on Your iPhone 14
Now, you might be wondering, "What does my case have to do with camera refocusing issues?"
Well, it turns out, quite a bit. This fix is grounded in the understanding that sometimes, the most straightforward solutions are the most effective, especially when it comes to tech troubleshooting.
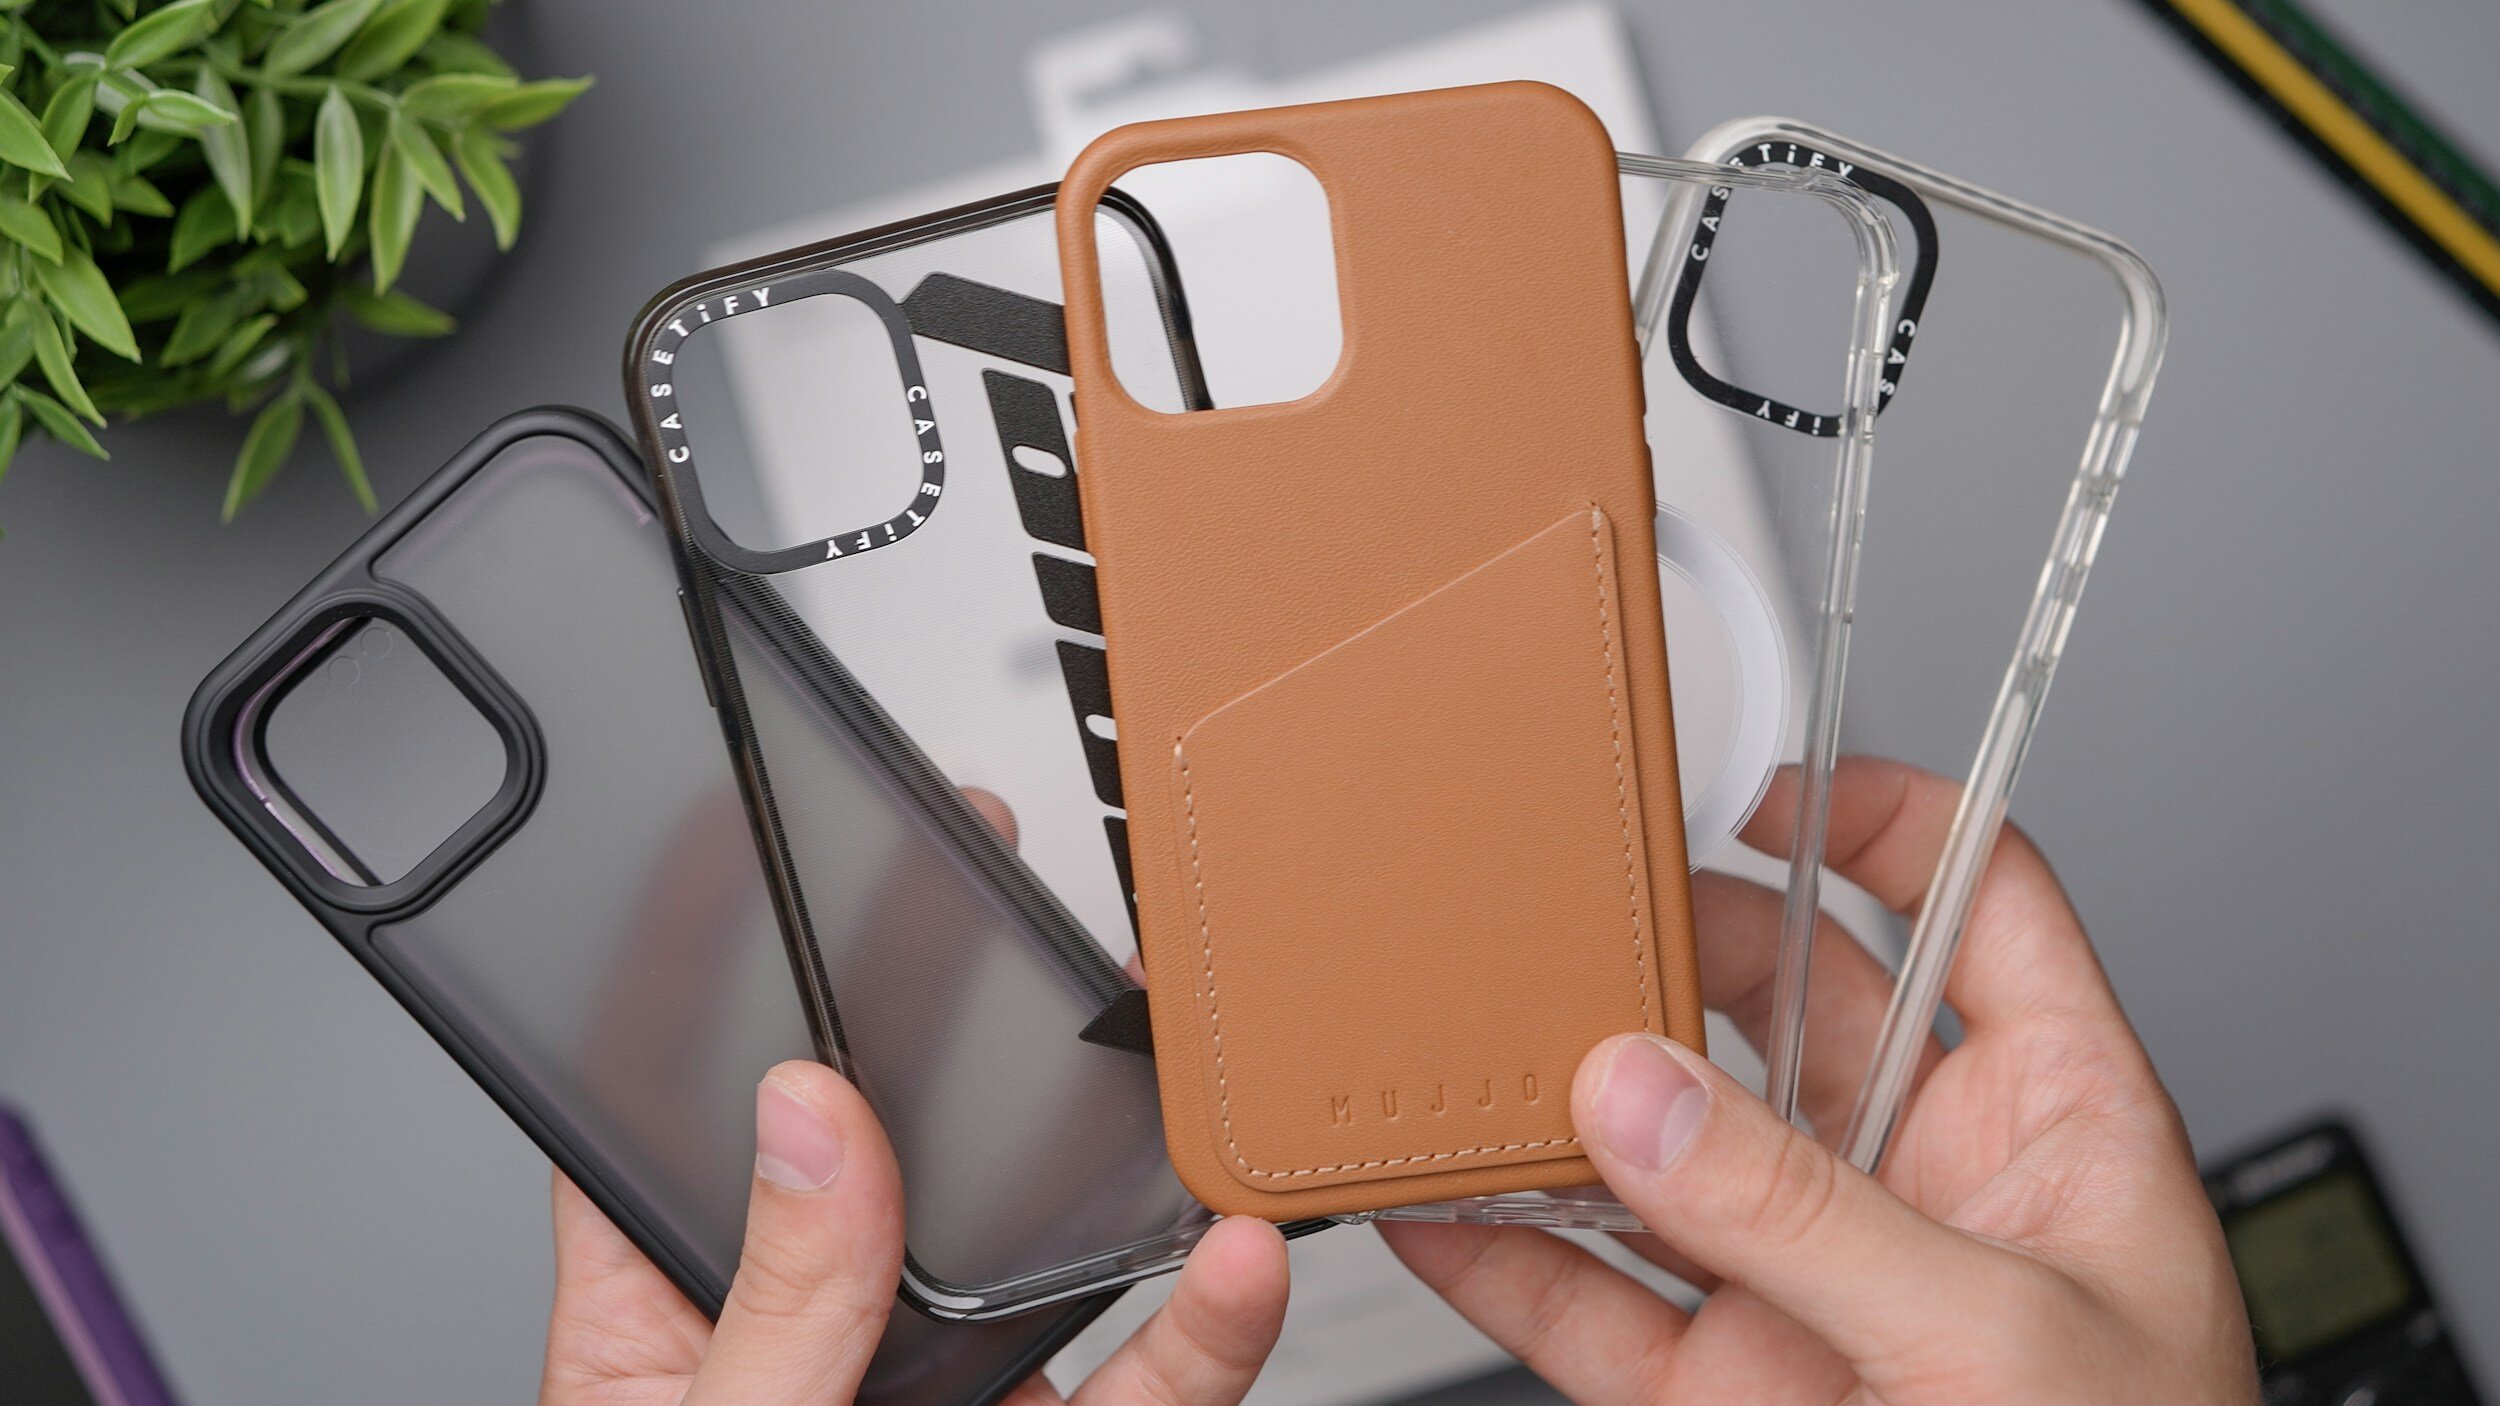
Phone cases, while essential for protecting our devices from the drops and bumps of daily life, can unintentionally interfere with the camera's ability to focus. How?
Certain cases might slightly cover the lens or the laser autofocus sensor without it being immediately apparent.
Even a marginal obstruction can lead to significant issues with auto-focus stability. It’s a classic case of protection inadvertently impacting performance.
Without the case, try taking a few pictures or videos in different lighting conditions and focusing distances. See if the problem persists or if removing the case has solved the issue.
If you need a new phone case, Amazon is a solid place to start. They usually have a wide variety of cases at great prices, so you're bound to find one that suits your needs.
7. Disconnect Bluetooth Devices
You'd be surprised how often other devices can interfere with your iPhone's camera.
If you've got Bluetooth devices connected, like those trusty AirPods, it's time to give them a temporary break.
Back to Settings
Open the Settings app once more.
Tap on 'Bluetooth'
It's usually near the top.
Time for a Break
Find the device you want to disconnect, tap on the "i" icon , and then select "Forget This Device."
Now that you've disconnected the Bluetooth device, give your iPhone's camera another shot and see if it's still acting up.
If it's working like it should, looks like that Bluetooth device was probably messing with it.
If turning off the Bluetooth device sorted out the camera glitch, but you still gotta use the device, no worries.
Just get it back in pairing mode and link it up with your iPhone again through the Bluetooth settings.
8. Third-Party Apps
Believe it or not, some third-party apps can be a bit nosy, interfering with your camera's focus.
Let's make sure none of them are causing trouble.
Back to Settings
We're going back into the Settings app.
Tap on 'Privacy & Security'
It's usually next to “Battery”.
Go to 'Camera'
This shows you all the apps that have access to your camera.
Audit Time
Take a moment to review the list. If there's an app you don't recognize or trust, disable its access to your camera.
9. Reset the Camera Settings
If you've tried everything else and you're still facing issues, it might be time to reset your camera settings. Unfortunately, there's no one-click option to do this, so we'll need to reset all the settings to get it done.
Here's how:
Open Settings
Start by unlocking your iPhone and opening the Settings app.
Navigate to General
Scroll down and tap on 'General'. You'll find everything you need to manage your iPhone there, including the reset features.
Go to Reset
In the General settings menu, find and select 'Transfer or Reset iPhone' and then 'Reset'. This will take you to a page with different reset options for your iPhone.
Choose 'Reset All Settings'
Here, you'll see a few options. Tap on 'Reset All Settings'.
This doesn't delete your apps or data but resets system settings including your network settings, keyboard dictionary, home screen layout, location settings, and importantly, your camera preferences.
Important note: Before we dive in, double-check you've got your Wi-Fi passwords and other key information handy. We're about to wipe these from your device, and you'll need to re-enter them afterward.
Confirm Your Choice
You might need to enter in your passcode to confirm the reset. Just go ahead and do it.
After that, you'll get one more prompt double-checking if you really want to reset everything. Hit confirm, and you're good to go.
Wait for the Reset to Complete
Your iPhone will take a moment to reset all settings. Once done, it will restart automatically.
Test Your Camera
After your iPhone boots up, open the Camera app and give it a test run.
Try snapping some photos, switch between different modes, and check if the refocusing issue persists.
Resetting your camera settings can usually fix any glitches or bugs that are messing with the refocusing, making your camera sharp again just like you'd expect.
10. Factory Reset
If you've tried everything and you're still at square one, it might be time for the nuclear option: a factory reset.
Be warned, this will wipe your device clean, so make sure to back up your important files first.
Settings, Yet Again
Open the Settings app.
Down to 'General'
Scroll and tap on "General."
Find 'Reset'
First, tap on ‘Transfer or Reset iPhone' and then on ‘Reset’. It's usually at the bottom.
Erase It All
Tap on "Erase All Content and Settings" and follow the prompts.
Your iPhone will restart as a clean slate.
11. Visit an Apple Store
If you've exhausted all these steps and the issue stubbornly persists, it's time to contact the Apple Support.
Book an appointment at your nearest Apple Store for a thorough diagnostic test.
Sometimes, professional intervention is the only way to get things back on track.
Wrapping It Up
Let's be honest – dealing with a camera that has a mind of its own can be downright infuriating, especially when you're trying to capture those once-in-a-lifetime shots.
But take heart; you're now armed with a robust set of solutions to tackle this pesky issue head-on.
Whether it's as straightforward as a device restart or as comprehensive as a factory reset, one of these steps should get your camera back in focus.
Got any more tips for tackling the iPhone 14's camera issues? Or perhaps you have a question that wasn't covered in the guide?
Drop a comment below! Your insights could be invaluable to someone else facing the same problem.
Want more guides, reviews, or tips? Subscribe to my newsletter for the latest updates.
Catch you in the next one. Thanks a lot for reading!
FAQ
-
The refocusing issue can be due to a variety of factors such as software glitches, hardware limitations, or even interference from other Bluetooth devices like AirPods.
It's essential to identify the root cause to apply the most effective fix.
-
Open the Settings app.
Scroll down and tap on "General."
Tap on "Software Update" to see if any updates are available.
If an update is available, tap "Download and Install."
-
Yes, some users have reported that disconnecting Bluetooth devices like AirPods resolved their camera's refocusing issue.
It's worth trying to disconnect any Bluetooth devices to see if it fixes the problem.
-
A factory reset will erase all data on your device, including apps, settings, and personal files like photos and messages.
Make sure to back up important data before proceeding with a factory reset.
-
If you've tried all the troubleshooting steps and the issue persists, it's advisable to seek professional help.
Schedule an appointment at your nearest Apple Store for a thorough diagnostic test.
-
Absolutely. Some third-party apps may request access to your camera and could potentially interfere with its functionality.
Review your app permissions to ensure only trusted apps have access.
MOST POPULAR


LATEST ARTICLES